My First Installation: A package of Midnite bees.
My wife was kind (and brave) enough to take these photos of the first time I ever tried to work with bees.
 |
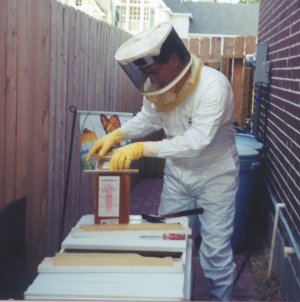 |
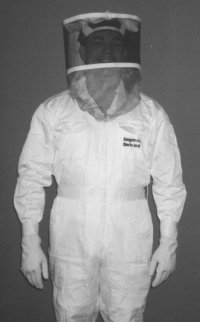
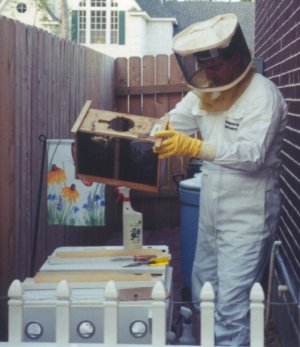
| 1. Here I am all suited up and ready to install bees (or handle a toxic spill, my wife wasn't sure which). | 2. I sprayed the bees in the package with a sugar syrup solution to quiet them down. Here I am prying the top off the package of bees. You can see some of the top bars I have removed from the middle of the hive and placed upside down on the top. Notice the beeswax foundation strips in the top bars. |
 |
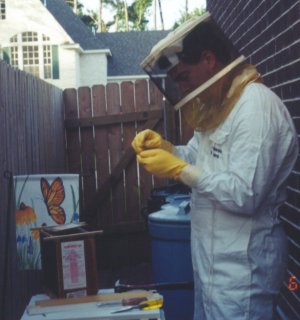 |
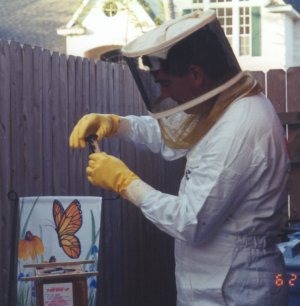
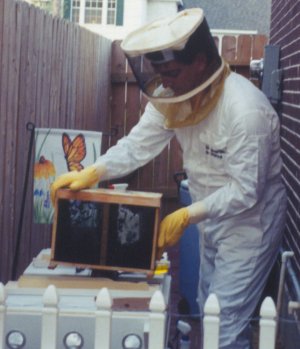
| 3. Here I am examining the queen cage after removing it from the package. You can see me removing the metal cap that covers the candy plug. | 4. I inserted a wire into the queen cage to hang it from one of the top bars. |
 |
 |
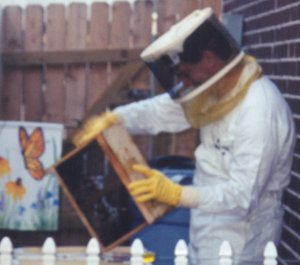
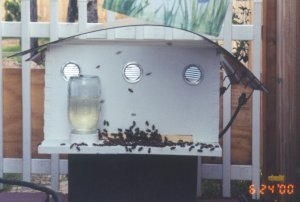
| 5. I removed the syrup can from the package and placed it in the bottom of the hive. Here I am getting ready to pour the bees into the hive. | 6. Here I am pouring the bees into the hive. Look closely and you can see the dark stream of bees falling into the hive. |
 |
 |
| 7. I had to rap hard on the package to get the majority of the bees out. I then set the package on the ground in front of the hive for the rest of the bees to find their own way to the hive. | 8. I filled the division board feeder with sugar syrup and I filled the entrance feeder with sugar syrup. |
 |
 |
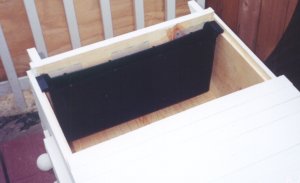
| 9. I placed the cover back on the hive and placed an entrance reducer with a 1/2" x 1.5" opening in the entrance. | 10. Bees on the landing area going about their business. |
My Second Installation: Two Starline queen bees
After disaster struck over our summer vacation (our TBH overheated and all combs fell, eventually killing our Midnite queen), we built a 3-frame observation hive and I bought two Starline queens from York Bee Co.
Observation Hive
I removed the cork from the candy end of the first queen cage and punched a small hole through the candy with a sharp nail. I removed the top frame of the observation hive and placed the queen on the top of the middle frame. I then closed the hive entrance with screen and closed the glass door.
I then removed (from the TBH) the top bar that had the most comb and bees on it. I sprayed them with sugar water and then hit the top of the bar dumping them into a small bowl. I then open the top cover of the observation hive and dumped these bees in it. I closed up the top cover and installed a full jar of sugar water for them to feed from. In my design the feeder is at the top of the hive and robbers can't get to it.
Unfortunately, I learned the hard way that this was not the proper way to install bees in an observation hive. The bee must be started with all frames fully drawn. There must be at least one full frame of brood and one full frame of food stores (honey/pollen). The queen will also require at least a half pound of bees. I had none of these and accordingly, robbers wiped out this hive very shortly.
Top Bar Hive
I removed the cork from the candy end of the second queen cage and punched a small hole through the candy with a sharp nail. I placed the queen cage on the floor of the hive near the frames in the middle. I then replaced the top bar with the comb into the TBH. I topped off the division board feeder.
This hive did fine for a while and then suddenly our queen disappeared. The hive died out from robbing shortly thereafter.
My Third Installation - The tried and true method
My third attempt to successfully raise bees was to purchase a well established Langstroth hive from a fellow beekeeper, Mr. Jim Stowe of the Montgomery County Beekeepers Association. He sold us a hive that had two deep brood boxes and two medium supers. This is the only hive we have that's currently housing bees.
This page was last modified 04/14/02 06:45 PM